For NineTen AI clients. You need Claude and your NineTen AI connector.
5 short steps in your portal
Add pictures to your emails
Put your own photos in an email: a banner at the top, work photos after your words, a second banner at the bottom. You pick the pictures and add them in your portal, then check the preview and mark the email ready. The sample below shows how they look.
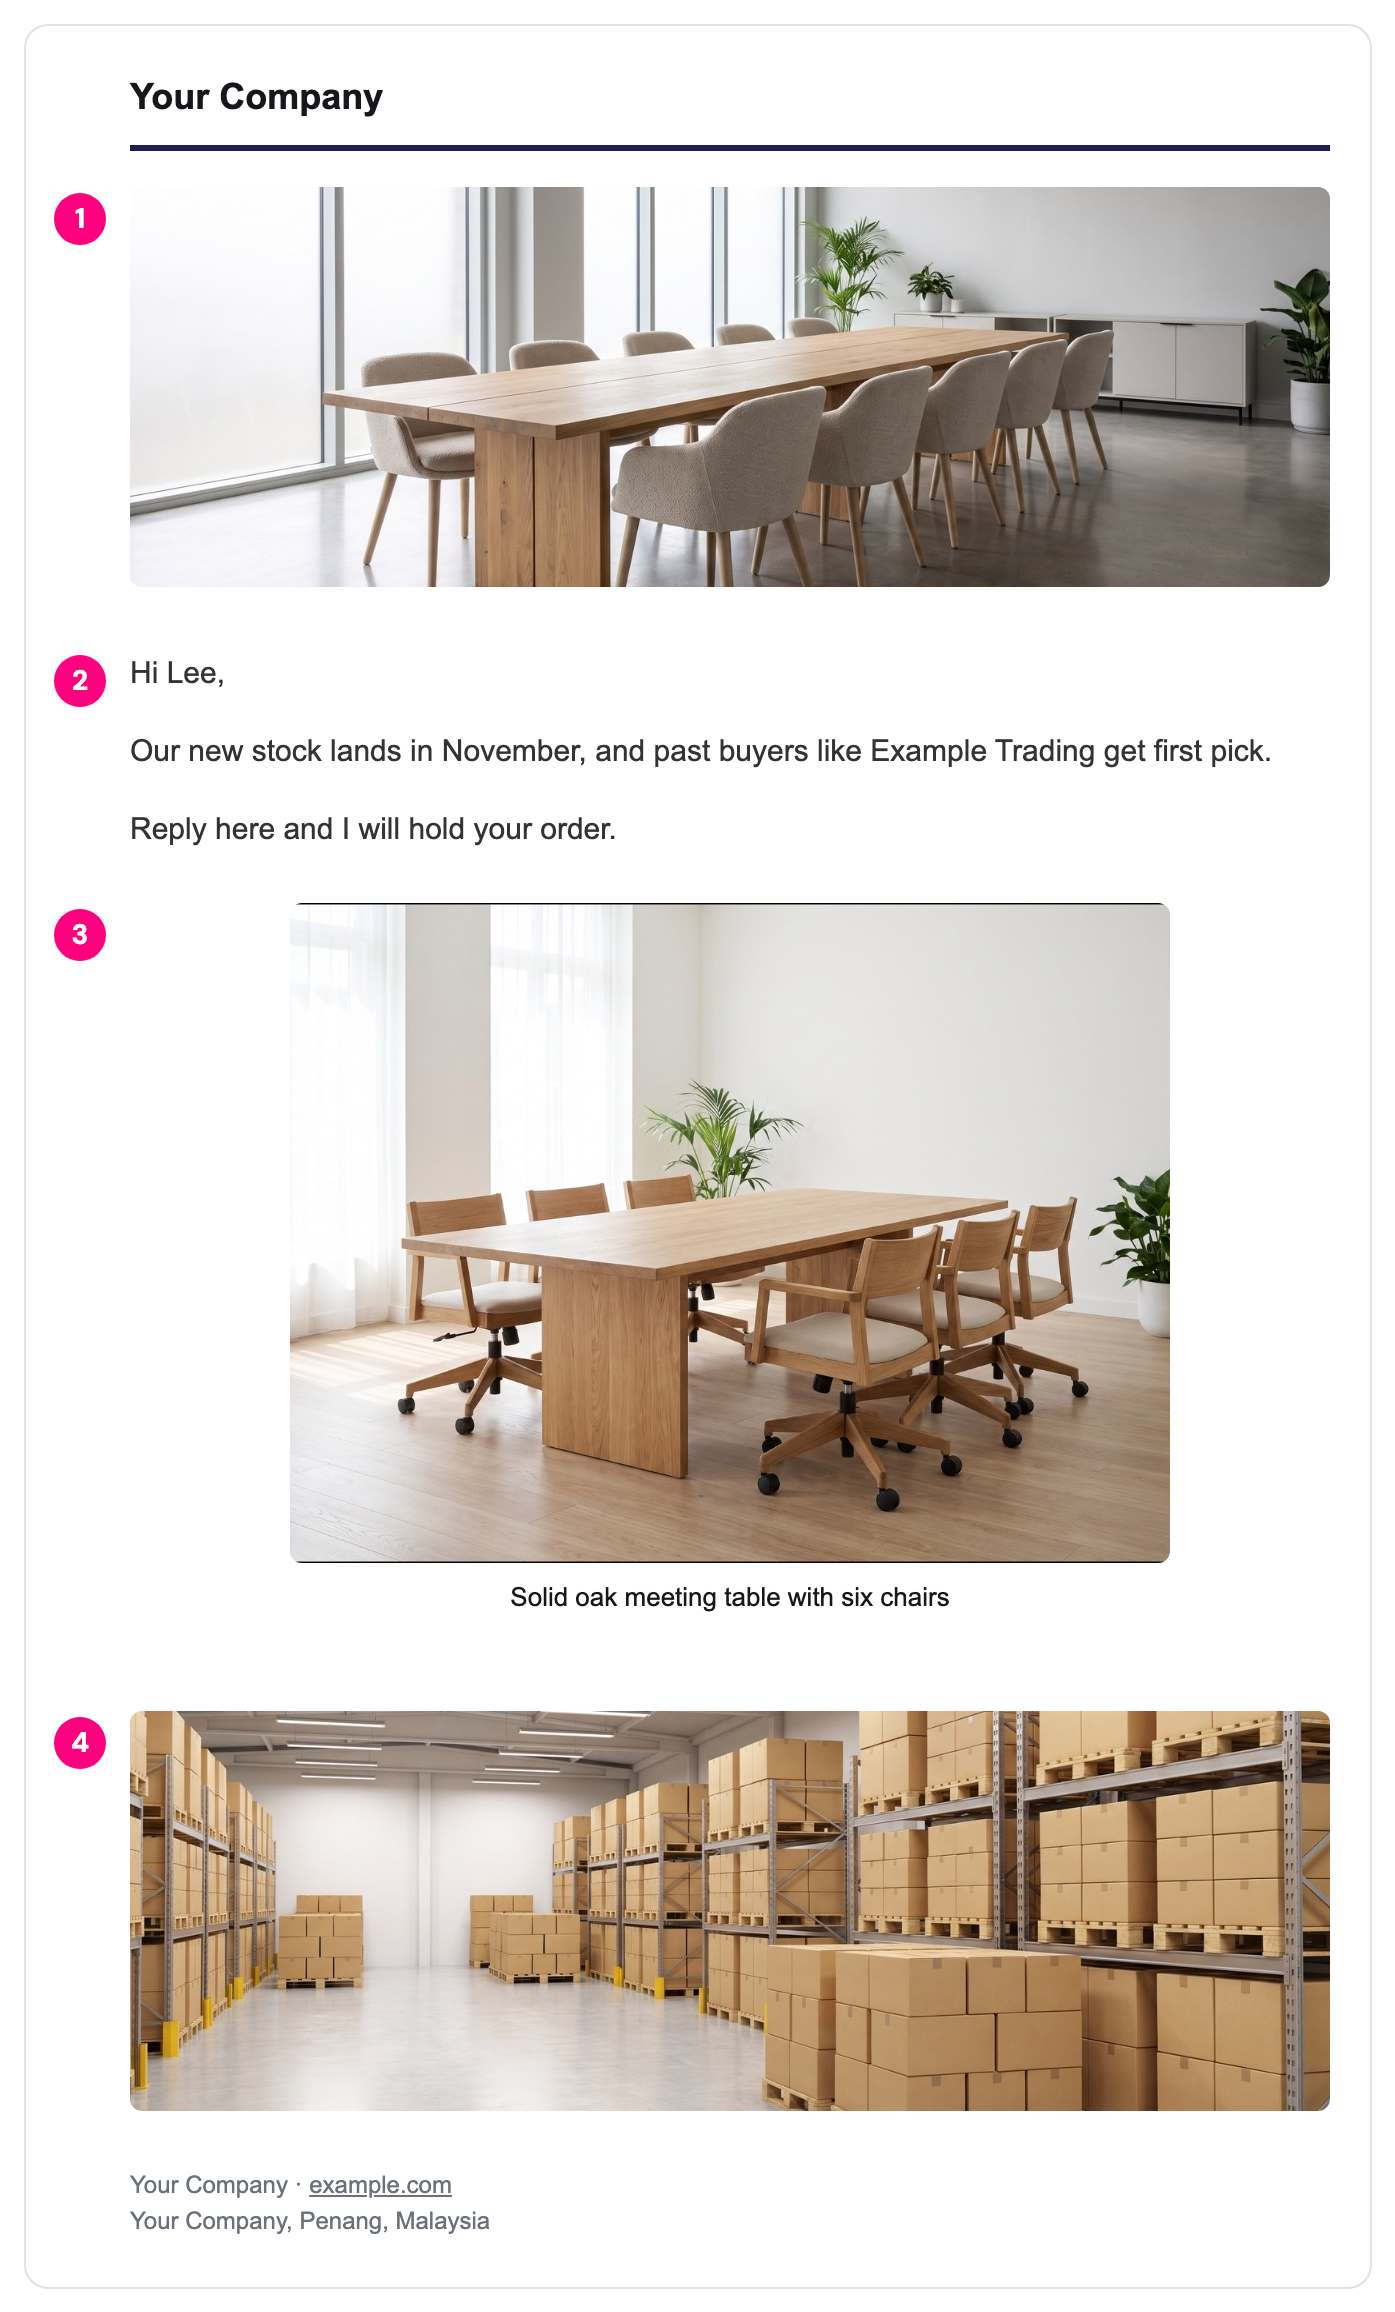
How your pictures show in the email
A real email from the portal, with sample words and sample pictures. Yours will carry your own logo, colour and photos.
Banner. One wide picture at the top, under your logo. It keeps its shape, so a wide table or a chart fits.
Your words. The email you wrote. Nothing changes.
Work photos. One to six photos, one per row, each cut to a 4:3 shape with a short line under it.
Footer banner. One more wide picture at the bottom, above your name and website.
Before you start
Your pictures saved on your computer as PNG or JPG files.
The email already saved in your portal. No email yet? Follow the write an email guide first.
Step 1 of 5
1
Pick the right pictures
Use your own photos: your products, your work, your place. Keep the main thing in the middle.
Banner: one wide picture for the top. A banner keeps its shape, so a wide picture like a table or a chart fits. A footer banner is the same, for the bottom.
Work photos: 1 to 6 photos, each at least 300 pixels wide. They are cut to a 4:3 shape, so keep the main thing in the middle, and each one needs a short line under it.
Save each one as a PNG or JPG file on your computer. A picture link from another website will not work.
What you should see
Your banner and photos as PNG or JPG files, ready to add in step 2.
Step 2 of 5
2
Add them in your portal
Claude cannot take a picture from a chat, so this part is yours. It takes a minute.
In your portal, go to Campaigns, then the Email library tab.
Select the email you want pictures in.
Under Send as, choose On your letterhead.
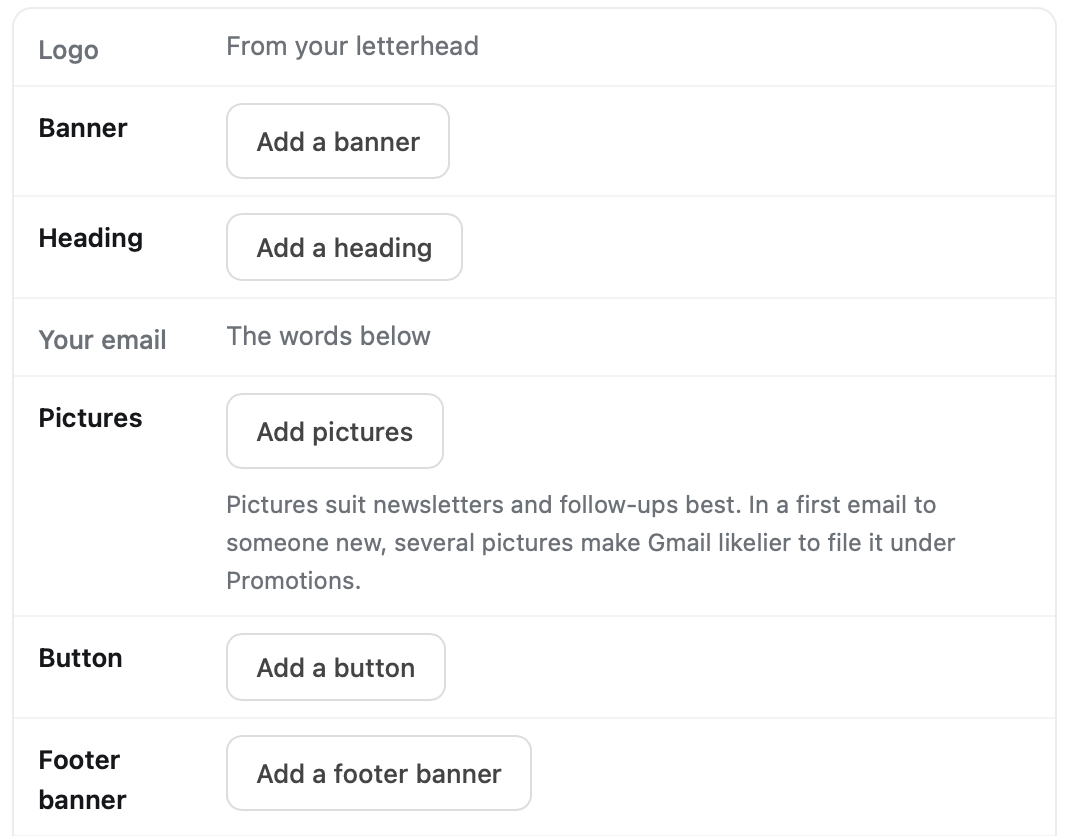
Click Add a banner for the top picture, Add pictures for your work photos, or Add a footer banner for the bottom one.
Pick the file from your computer, then add the short text the portal asks for.
Work photos get a line under them. Banners get a description that shows when an email app hides pictures.
Save the email.
What you should see
Your pictures listed on the email, and the preview beside it shows them in place. Click Phone to check the phone view.
A real portal screen: where you add your banner, work photos and footer banner.
Step 3 of 5
3
Adjust where your pictures appear
Your email is a list of parts. Move one and the preview beside it redraws as you go.
Open the same email in your portal. Your email shows as a list of parts, one row each.
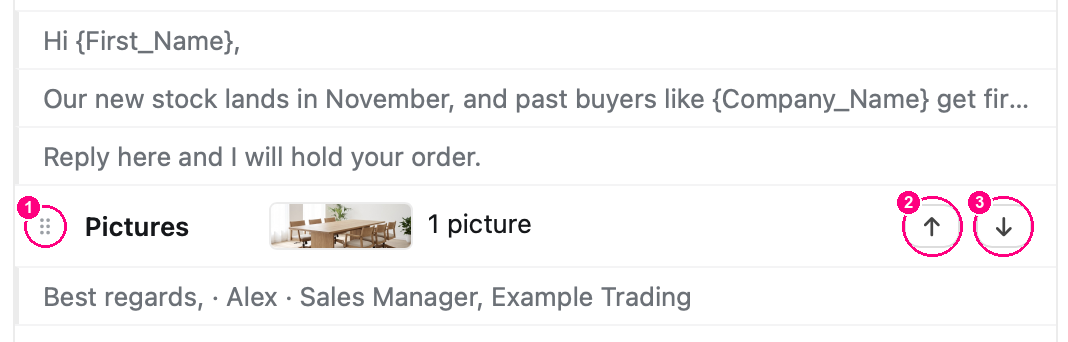
Hold the dots on the left of a row and drag it up or down. Drop it between any two lines of your email.
Or use the arrows on the right. The up arrow lifts that row one line, the down arrow drops it one line.
An arrow turns pale when a part has nowhere further to go.
Your banner, your pictures, your footer banner and any heading or button you added all move. Your logo stays at the top and your footer stays at the bottom.
Save the email once every part sits where you want it.
The dots. Hold them and drag the row to where you want it, anywhere between the lines of your email.
The up arrow. One click lifts the row one line. Here it puts your photo above 'Reply here and I will hold your order.'
The down arrow. One click drops the row one line. Here it puts your photo under your sign off.
What you should see
Each part where you want it in the list, and the preview beside it in the same order.
Step 4 of 5
4
Check it, make it ready, test it
Everything here happens in your portal, on the same email.
Open the preview beside the email. Click Computer, then Phone.
Check the banner sits under your logo and each photo sits after your words with its line under it.
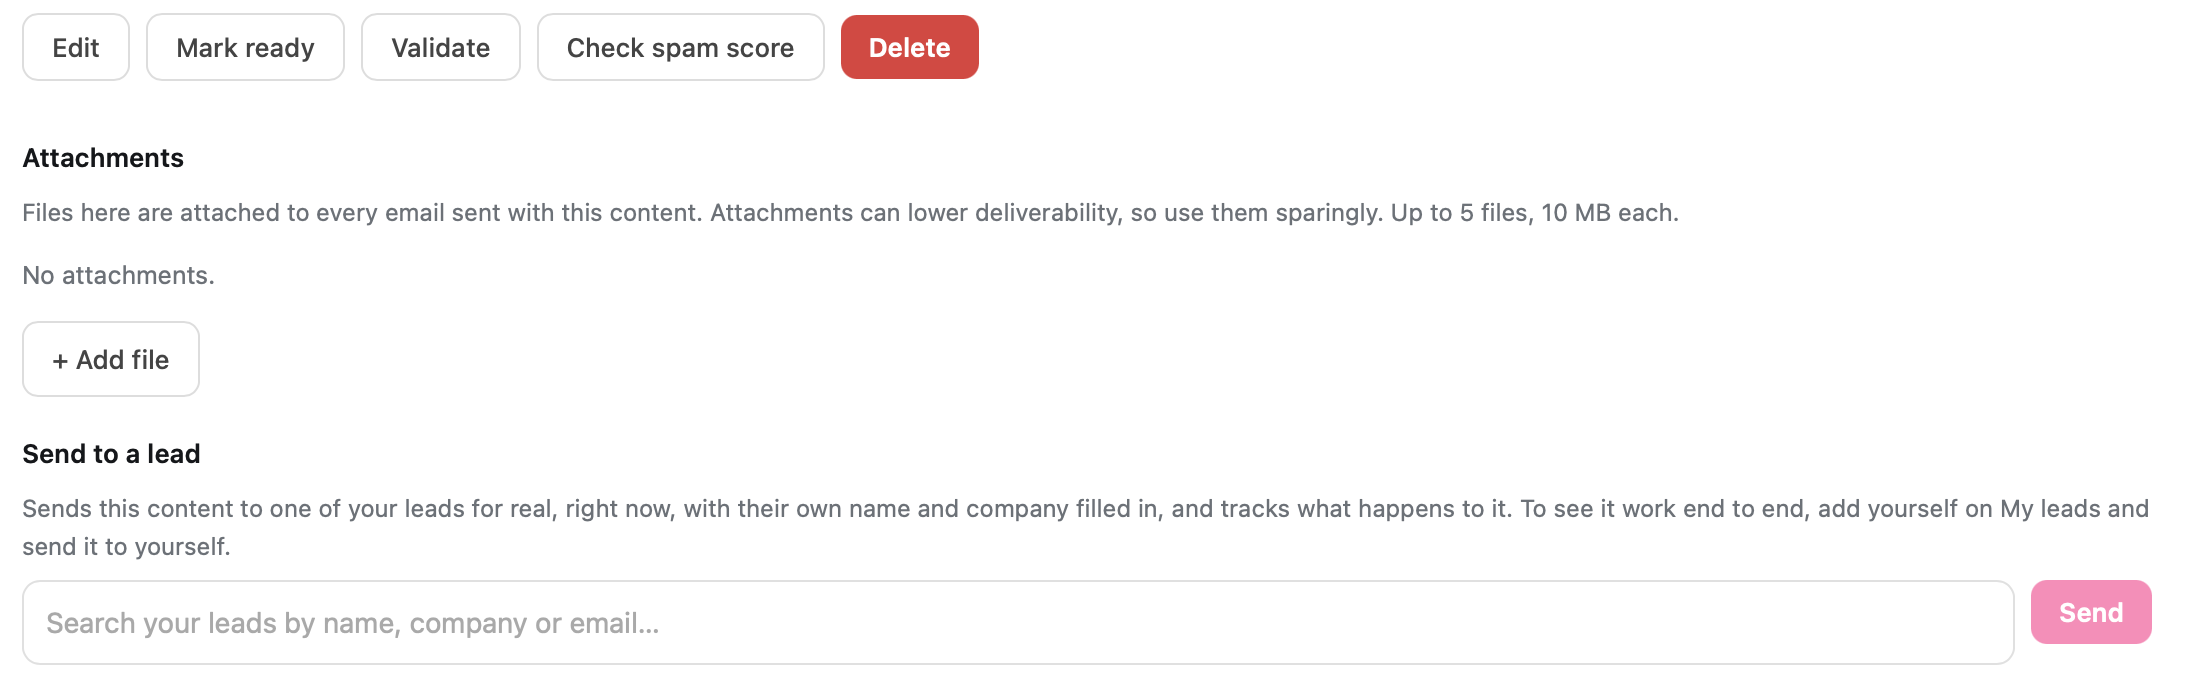
Happy with it? If the email is not ready yet, click Mark ready.
Want the same design on your next emails? Click Save as template.
To get a real copy yourself, add your own email on My leads. Then under Send to a lead, pick yourself, click Send and confirm.
What you should see
The email marked ready, and your copy in your inbox within a minute or two. It is a real, tracked email and counts toward your daily send limit. Some email apps hide pictures until you click to show them. That is normal.
A real portal screen: Mark ready, and Send to a lead to get a real copy.
Step 5 of 5
5
Optional: more you can add
Only if you want them. Skip this step if pictures were all you needed.
Logo and colour: Claude sets up your letterhead from your website. Say: set up my letterhead from my website.
Add a heading or Add a button: one short line at the top, one clear next step at the bottom.
Suggest with AI: the portal offers three designs. Check your pictures are still there before you save.
Apply a template puts a saved design on another email.
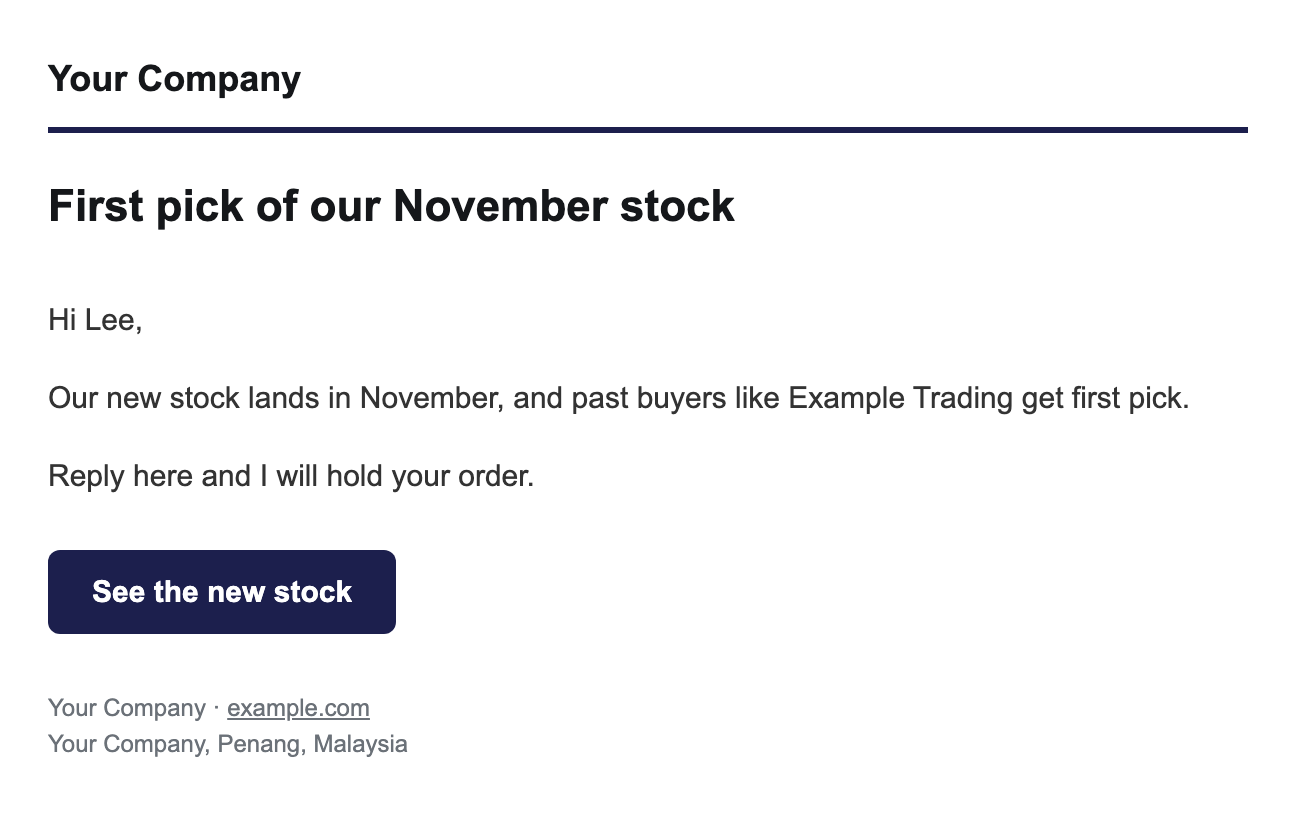
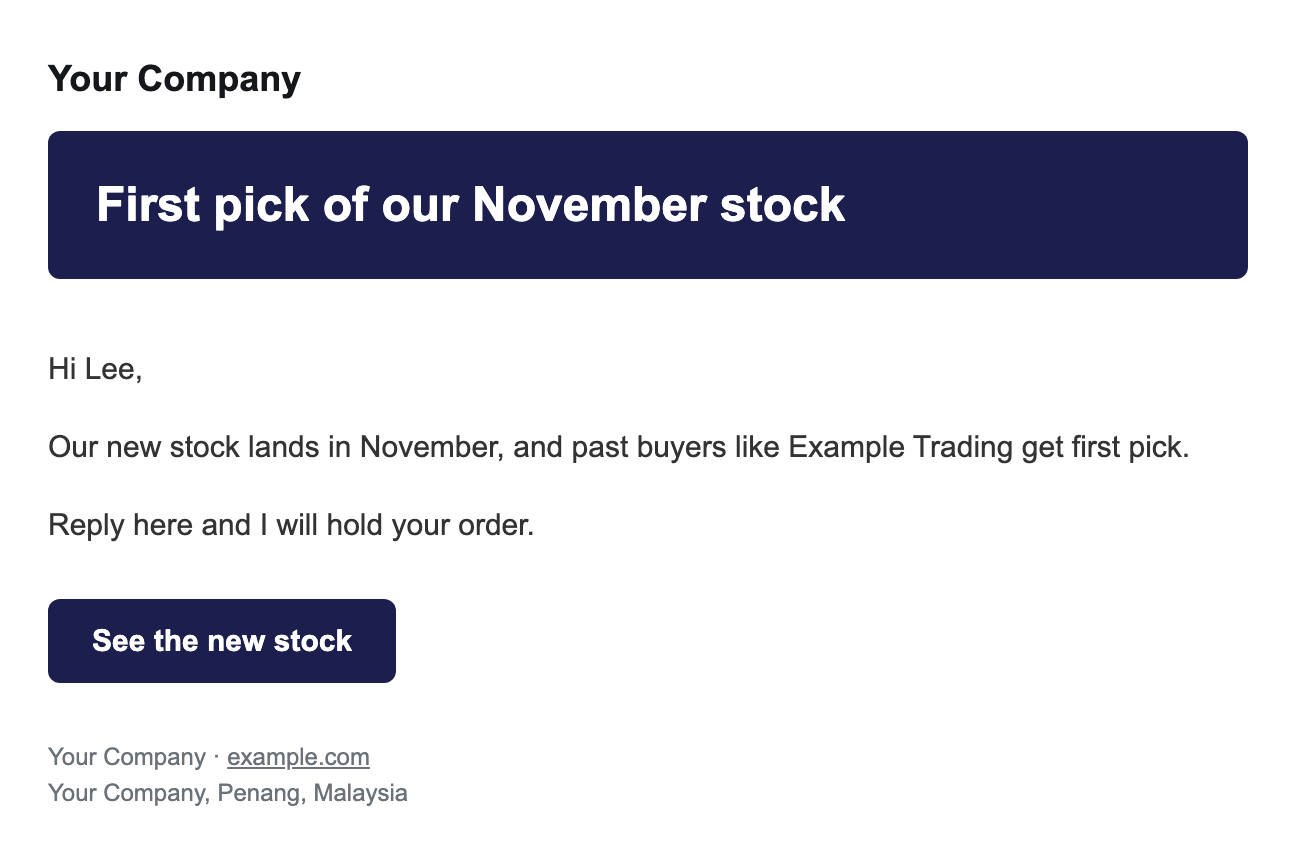
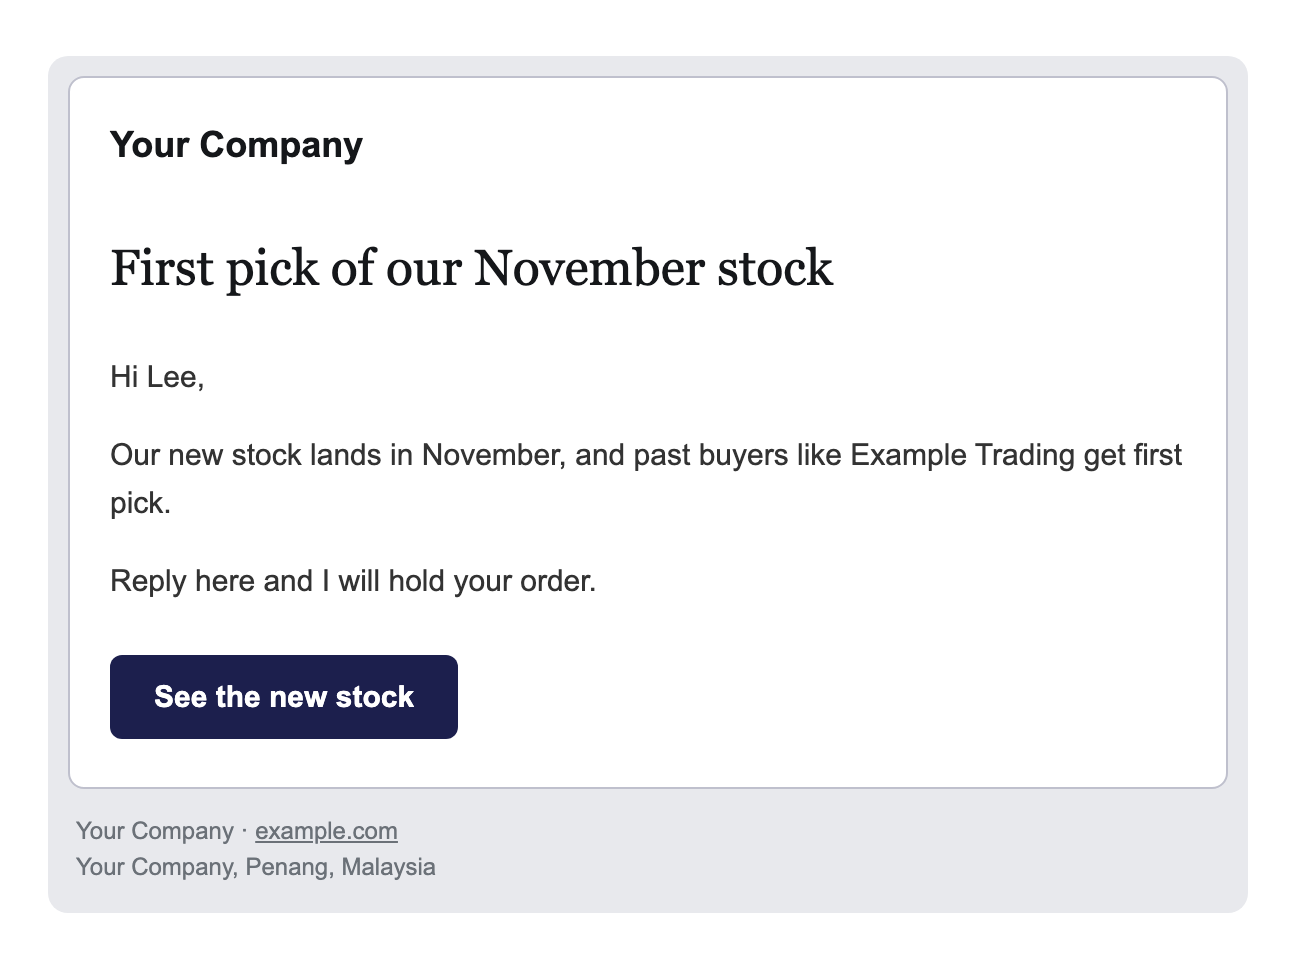
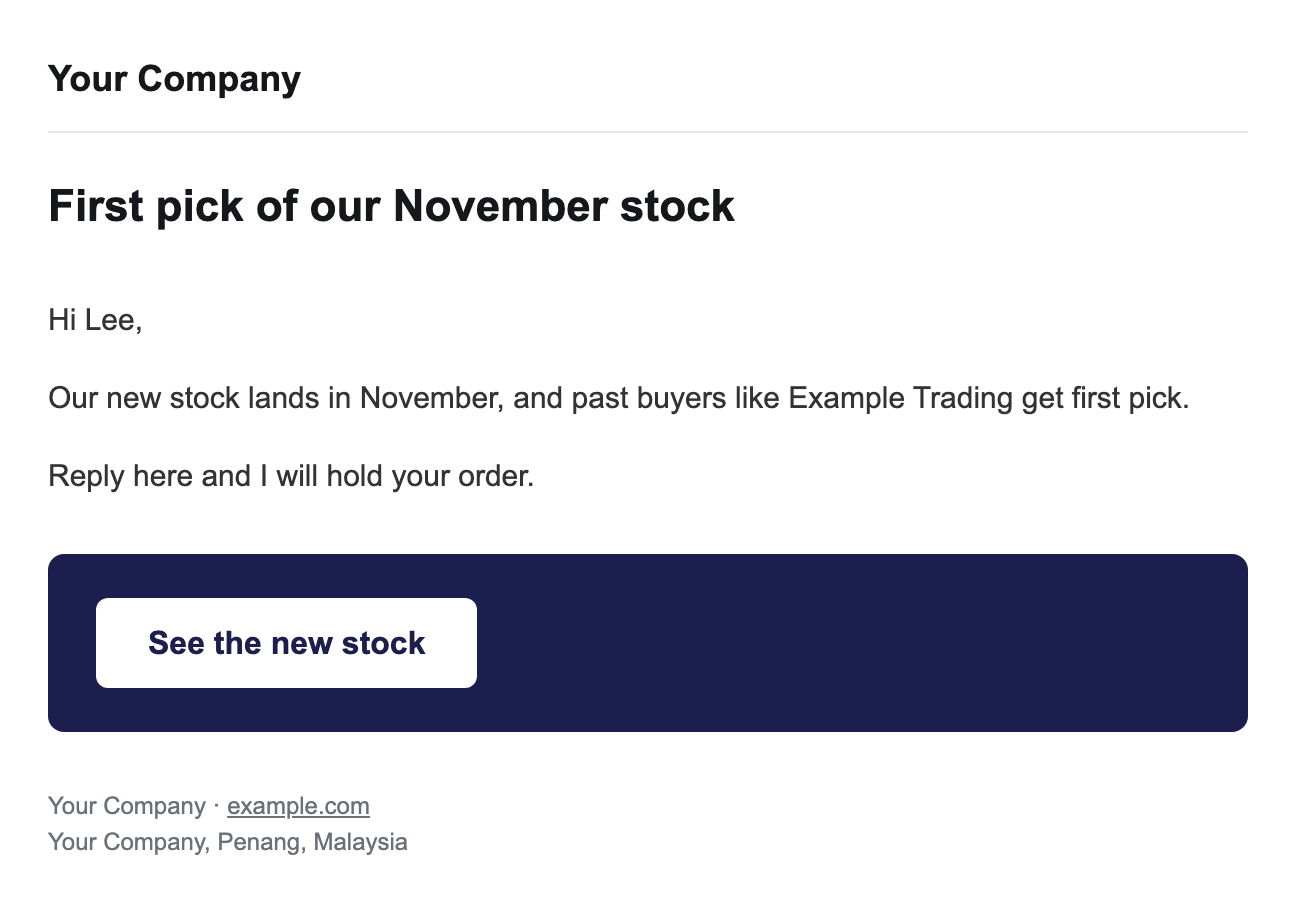
Look: Letter, Headline, Card or Spotlight, shown below. Try each in the preview and keep the one you like.
Look 1Letter
A classic letter with a line of your colour under your name.
Look 2Headline
Your heading sits in a block of your colour.
Look 3Card
Your email sits on a white card over a light tint of your colour.
Look 4Spotlight
Your email ends on a panel of your colour holding the button.
What you should see
Your changes in the preview. Changed anything? Save the email. A ready email stays ready.
Prefer to hand it to Claude? Open a new chat and say: design my email on my letterhead and keep my pictures. To go back to a plain email, say: make my email plain again.
 Help CentreBack to nineten.ai